Wednesday, July 24, 2013

Record Case Pt II

Finally getting around to posting some more pictures of the record case. The last month has been busy...not much time in the shop though.


I have the lid glued and up and have started sanding it.


The glue-up required quite a few clamps because of the way the top is attached.  The flush look is worth it though.


Here are the two halves of the case.


My first attempt at cutting the dovetails for the lid didn't go well....the marks are the material I was SUPPOSED to remove.


Lower case dry fit.


I am really pleased with the way that the veneered panel for the top came out.  Match planing the pairs of veneer with an angel helped to minimize the visibility of the seams.  I can't wait to put finish on this piece.


Some sketches from trying to decide on the dovetail size and placement.


All of the hardware that I will be using.

Tuesday, June 18, 2013

and some other stuff...

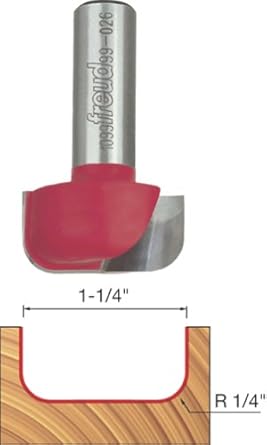
I ended up going with a 1 1/2in bottom cleaning bit from Magnate.  They were very responsive to my questions and the bit arrived very well packaged.  Definitely worth the price..which is very reasonable.


I has to enlarge the opening in my router sled for the new bit and then I was ready to start some milling.


..after I set up some chip shields to try and contain the mess I was about to make.  this worked out ok although the shop did get a thorough cleaning after this process was done.


The bit worked great.  Much better surface finish and I was still able to take almost 1/4" in a pass if needed with a 2 1/4 hp router.  I don't know how a 2in bit would work with my router, but I'm pretty sure any of the 3+ hp routers would handle them no problem.  The cutting was very smooth and easy to control.


Liberal application of wax to both sided of the sled and rails certainly helped.  In the end I cranked through 18 rounds in a couple hours.


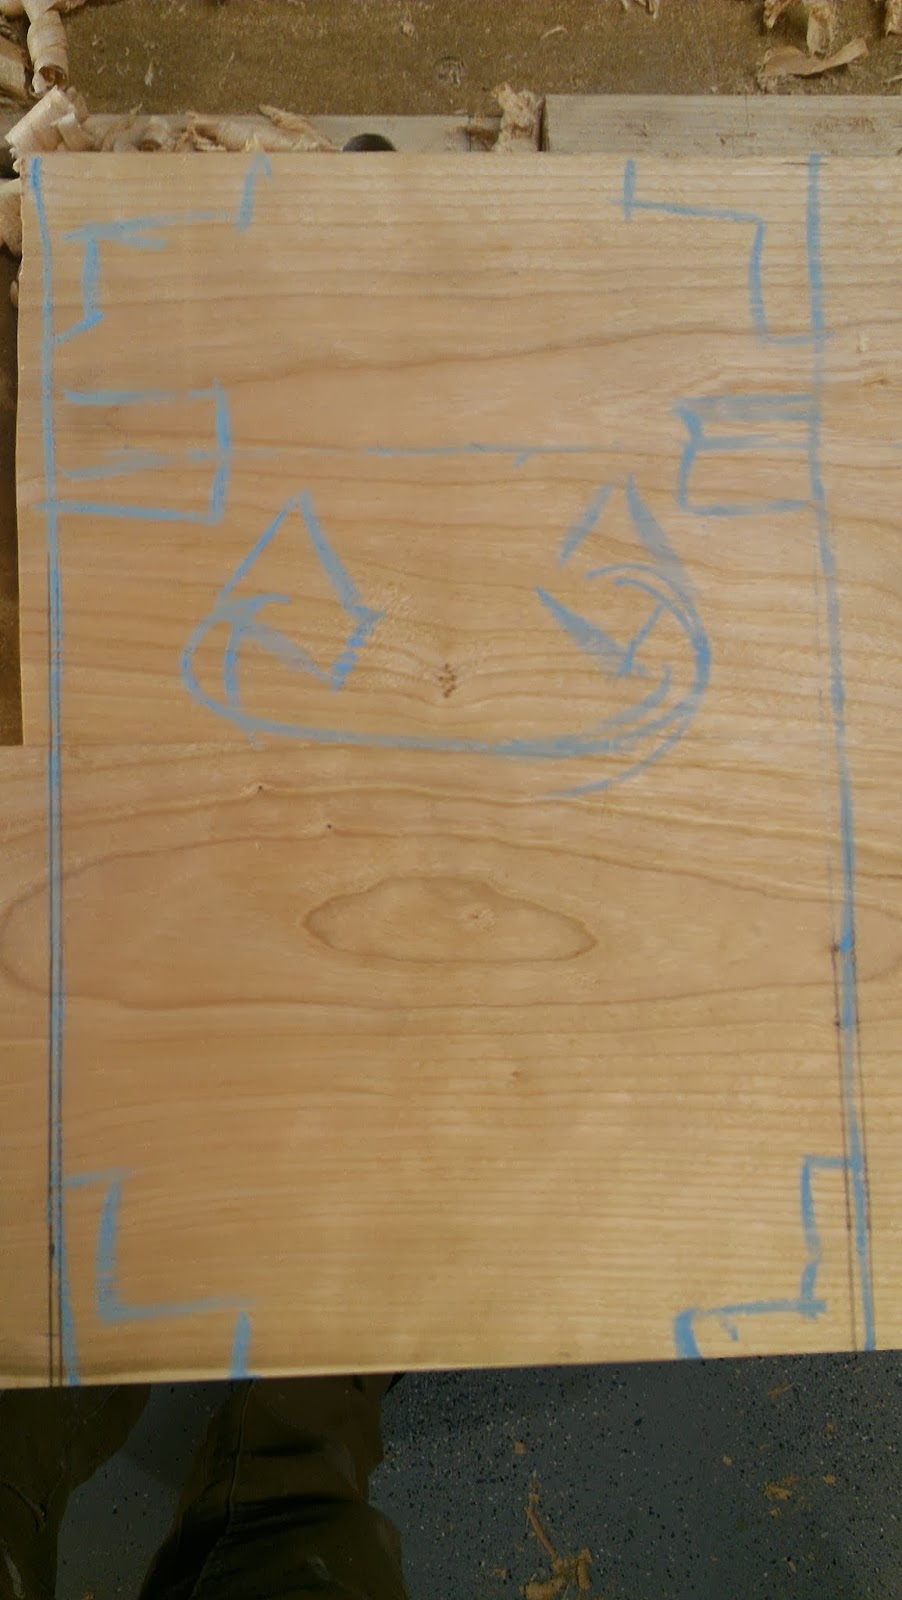
I then got a bit side tracked..and started making a test piece to try out the joinery I wanted to use for the record case.  Basically I rabbeted both pieces of 3/4 in stock so that there would be 1/2 in dovetails.  This leaves a raised boss on the inside of each piece which allows me to cut my dado for the top/bottom through instead of having to mess with making it blind.  It also makes the dovetails look a bit more delicate than if they were cut through the full 3/4.


I actually pre-finished the inside of the parts for this little project.  I think I may start doing this more.


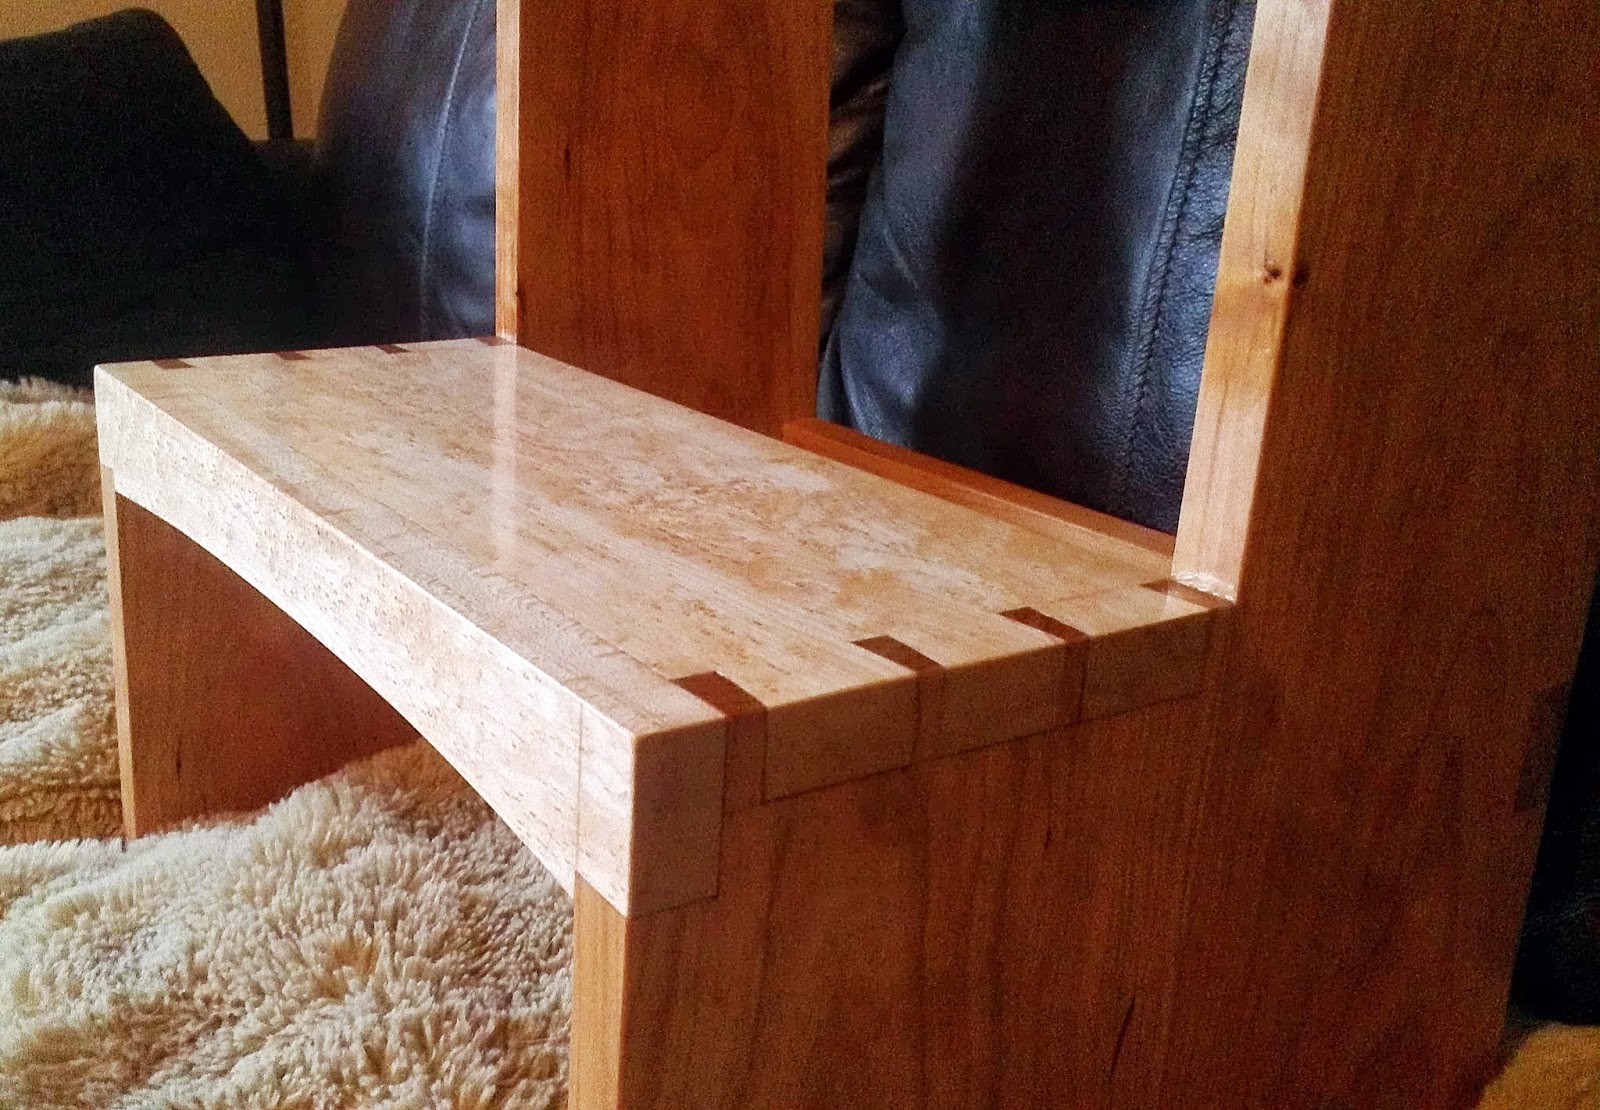
I didn't want to just cut the joinery on scrap so I decided to make a "tray" to hold papers on my desk at work. Dovetailed sides and floating ship-lap bottom.


In the clamps, glued this up with the Old Brown Glue.  I am becoming rather fond of using that stuff.  It takes a bit longer to cure, but I like the longer open time and knowing that it won't mess with my finish if I don't get every little bit off.


After a couple coats of shellac and some wax..ready to help contain the mess that is my desk.


While the glue/shellac was curing I was also playing around with doing a quad match veneer from a piece of Claro walnut that I had.  I am continually impressed with how well the bandsaw does at cutting thin veneers.  I used the OBG again to glue the veneers to some 1/2" plywood.  I think that veneer work is definitely someplace where some true hide glue would be nice. I like the ides of hammer veneering more than dealing with making a veneer press.

Design Decisions.

You would think that I would be better at making decisions about my designs before I have started to buil a project...designing things is what I do for a living.  Being able to put off those tough decisions until the the last minute turns out to be one of the really liberating thing about doing projects at home, for myself.

I am beginning a build for a record case which will be a gift for a friend who is DJ'ing our wedding later this summer.  He still spins vinyl so I thought a classy case for him to haul records to his gigs would be great.  The basic design is styled around tansu hardware from Lee Valley.


I've got some cherry glued up which will make the case sides.

and I have a chunk of maple burl which I plan to slice off veneers for the top from.


I think this is the layout I'm going to with for the top.
The next big decision I need to make it what proportions to use for the upper and lower portions of the case. The version on the left has a much deeper top at 5 1/2 inchs while the one on the right is 3 1/2. I ordered both types of hardware layed out in the two options.  The deeper top will leave more of the records exposed which should make removing them easier, but for some reason I'm hesitant to commit to that design.


Any thoughts and suggestions would be appreciated..


Monday, June 3, 2013

Finally back into the shop.

I finally got back in to the shop this evening for a few hours.  This past weekend was spent working on the yard which is looking pretty good.  Time to starting working on some center pieces for the wedding later this summer.  Last fall while cutting firewood I cute a few dozen cookies from  a ~12" log.  They have been stickered in the shop all winter drying and are close enough.


The plan is to flatten them and and then cut a pocket in the top side for a ball jar which will hold flowers.  Being end grain I don't want to run them through the planer and risk it and hand planing 24 of these isn't my idea of a good time.  I considered use the belt sander, but I really need to cut some serious thickness (~1") off of a few of these.  I decided to build a jig to use the router for this task.  


Got the jig built tonight and ran a couple cookies through it.  Ended up adding screws to bottom rails which I can tap the cookies down on to to hold them in place.  The results were promising.


It certainly makes a mes...this was just from 2.


Tried out a couple colors of shellac...I think the clear is going to be the one we go with.  There will be a new router bit in the mail soon as the larges bit I own currently is a 3/4" straight bit.  I am thinking about one of these.


The flat bottom is the same width but the corners should help leave a smoother surface which will require less sanding.


Thursday, May 30, 2013

Refinishing the dining room table...post mortem.


The before picture...we are obviously in need of some new finish on the dining room table.  What was left of the old finish was awfully sticky.


I started with a card scraper and that quickly escalated to several hand planes.  The table top needed to be flattened a bit so I wasn't too worried about removing material.  Unfortunately the top is made from a variety of small boards that were glued up with the grain going every which way. I got some pretty bad tear-out in a few pieces and had to resort to the belt sander to get the remainder of the finish and clean up the tear-out.


After the belt sander I broke out the new ROS.  Luckily I used a higher grit belt than I started with on the ROS...not out of any brilliant planning, I was just too lazy to change it.  The ROS is a lot less agressive than the belt sander so being able to step down to an even lower grit (60 I think, had an 80 on the belt sander) for the first couple passes helped speed things up.

Once the belt sander marks were gone I started working on the edge.  A goose-neck scraper got the bulk of the old finish off.  I found that the ROS pads worked really well for sanding the curved edge as the thickness helped spread out the pressure a bit.  Getting the edge all cleaned up was a bit tedious but once that was done it was back to the ROS to take the top up to 320.


A raking light helped identify areas that needed a bit more attention, but a final wipe down with mineral spirits still found a few more scratches that I had to go back and deal with. I have taken to making a light pencil mark on the scratch while it is wetted so I can find it once the surface dries, usually once the pencil mark is gone I'm good to go.


Then on to finishing.  I was originally planning on filling the pores in the top to get a nice smooth surface. After sanding two coats of oil/varnish blend into the top and still having a long way to go I bagged that idea and decided to just not go for as much of a build with the final coats of poly.  Once the oil/varnish mess dried (This took several days before the oil stopped seeping out of the pores) I started wipping on coats of thinned poly..5 in total I think.


I sanded between every other coat with 400 grit silicon carbide paper lubed up with mineral spirits. After the last coat dried I went over it with some 1000 grit (I think) paper, aslo lubricated.


All in all I am pleased with the results. I have decided that I really don't enjoy working with red oak very much.  

Things I learned:
  1. I really don't like red oak.. dont like cutting it, dont like planing it, dont like sanding it and dont like finishing it.
  2. A belt sander can cure many sins with a hand plane...but it can also take quite a bite out of a surface if you aren't careful.
  3. Pore filling by sanding oil/varnish blend into the surface takes way more time than I am willing to give it, at least for red oak.
What I would do differently:
  1. Start with the belt sander and work up through a couple grits to something pretty fine. I think this would be a lot faster than trying to sand out the scratches from an 80 grit belt with a 60 grit ROS pad.
  2. Work someplace with more space so I can get more than a foot away from the piece to looks for defects on the top.
  3. Skip the oil/varnish and go straight for wiping poly.  


Wednesday, May 15, 2013

Shaker Step Stool...Complete


The step stool is complete.  It was finished with danish oil and wipe on poly.


A few extra coats of poly on the steps for added protection. The birds-eye figure really shines with a bit of depth to the finish.


I am pleased with the results of my dovetailing efforts.  


The few minor gaps I ended up with were easily filled and almost invisible.

Next up...refinishing the dining room table.


Then maybe a side table for the downstairs living room.


Sunday, May 12, 2013

Productive weekends are great.

After some nice spring skiing I tackled the ceiling in our bedroom yesterday and got a nice coat of white ceiling paint on...ugh.

Today was biking and then shop projects and cleanup.  I have been accumulating lumber lately and have found that the bottom of the larger miter saw bench isn't very convenient for storing it.  Finally picked up some construction lumber and spent the afternoon getting a decent lumber rack built on the wall above that bench.

I ripped pressure treated 2x4s in half and nailed them to the cement walls with the 22cal nailer.  


The supports themselves are just 2x3 studs with OSB brackets.  Simple and cheap, yet effective.


Also figured out a decent way to store the big clamps.  Attached a piece of scrap across the end of one of the shelving units.


I have been sketching some designs for a small side table which would use part of the wide Mahogany board that I've got.  The top will be 12" x roughly 3ft.  I want to have the top floating above the side skirts.  I've drawn it with both a breadboard end...


..and with an underside taper on the end s of the top.  I think that the bread-board end works a bit better.


I think that since the table is relatively small I could get away without any lower stretchers.  Adding them would allow for a lower shelf that might be nice.


Would love to hear any feedback on the design...