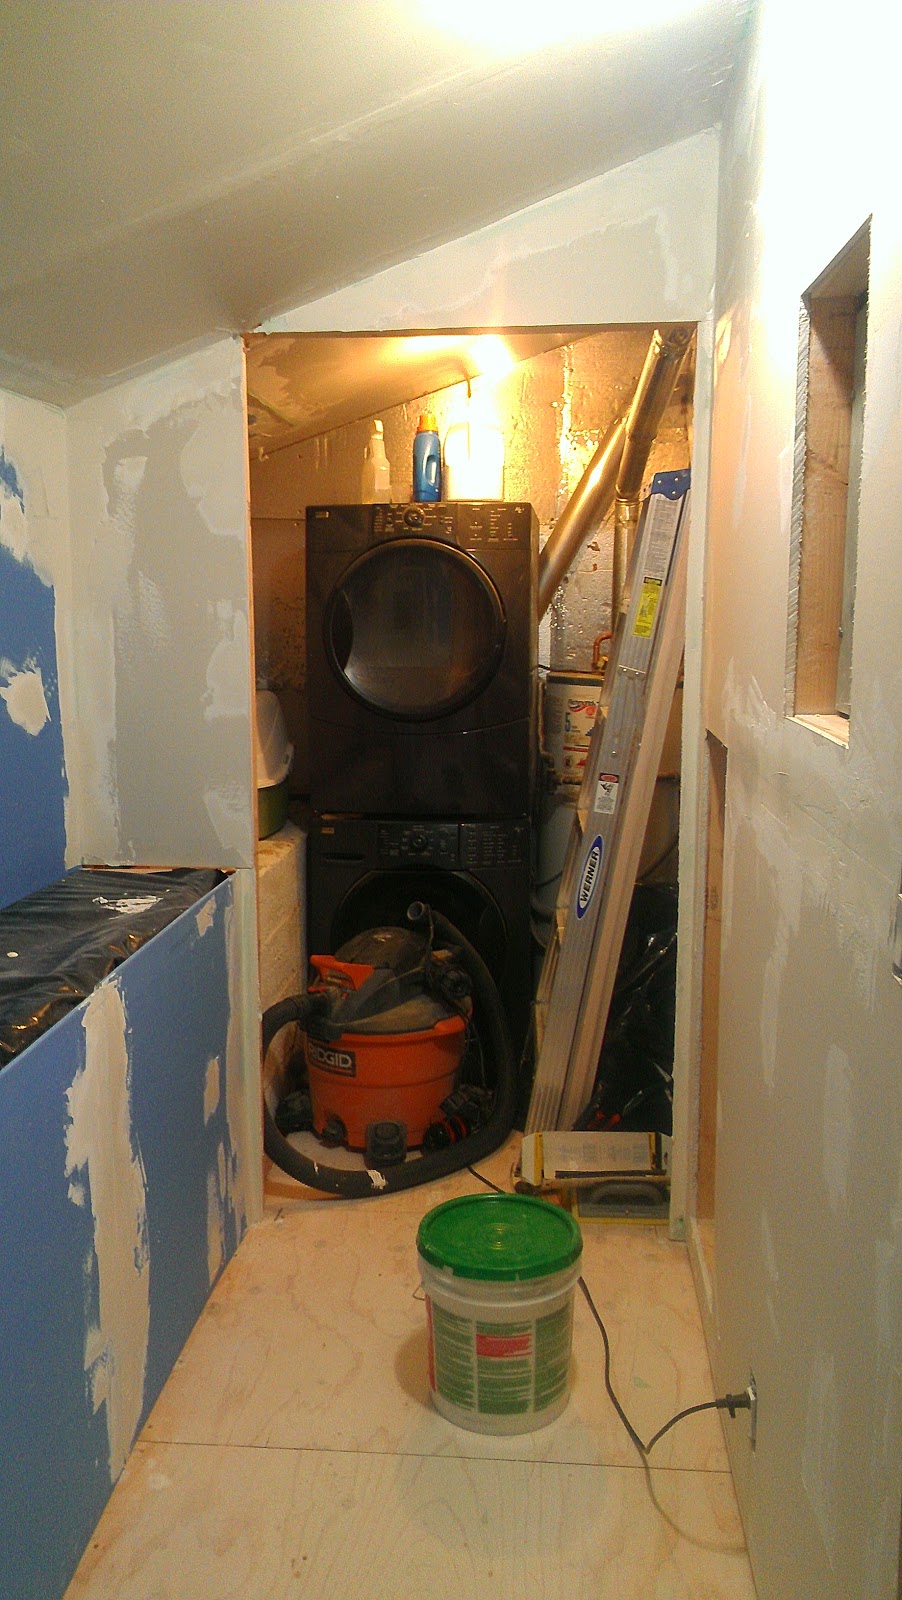
With the laundry room wrapped up, except for a couple access panel doors, its been time to get the shop fixed up a bit.
This is pretty much how the shop has been set up for the last year or so. It has been working out well enough, but I wanted to improve the lighting and electrical as well as putting up a wall over the concrete so I can hang things more easily. I also wanted to replace the large rolling bench/lumber cart with smaller rolling benches that will be easier to move around as needed.
First up was moving as much stuff out of the shop as I could and clearing in front of the wall so I could install the furring strips and OSB. I ended up using 5/4 pressure treated decking for the furring strips. I was able to rip each board into two pieces. This was more cost effective than using 2x4s and kept the wall as close to the concrete as possible. I decided to use 7/16 OSB mostly due to it low cost. I considered use T1-11 plywood panels, but at 3x the cost it didn't make sense.
With the OSB hung and painted I moved the cabinets from the back wall onto the new wall, along with a couple additional cabinets that were removed from the laundry room.
Next up was running the electrical. There is a multi-wire branch circuit running to the garage so I decided to use two different colored outlets to keep track of which circuit they are tied too. This should make it easier to avoid running the large power tools off of the same circuit as the lights.
Speaking of lights, I installed 4, 2 bulb T8 fixtures. They are screwed directly to the ceiling with Tapcons. This allowed me to mount them evenly spaced across the width of the shop. I went with fixtures that have diffusers to help even out the lighting as the ceiling is just under 8 ft.
The results are a significant improvement over the 3 T12 fixtures I had previously.
Moving on to getting things organized, I built a quick clamp rack.
And a 2x4 ft rolling cart which will house the compressor and either the planer or miter saw. The height of this cabinet is sized to work as an out-feed table for my table saw. I built a small rolling cart for the table saw (Bosch portable) a couple years ago so it will be nice to have decent out-feed support.
I am in the process of building 3 of these smaller rolling cabinets. The one on the right does not have a fixed top so I can swap out the miter saw and the planer. Each of the other two cabinets are sized to work as in-feed/out-feed tables for either of the tools mounted to the middle cabinet.
I am still undecided as to wether I want to keep the large desk. It is nice to have a large work surface and it is a good height for assembly. The downside is that it is not mobile..at all. Now that I have internet in the shop I will probably do more design work in the shop so the desk will probably stay for at least the time being.
Just a few more things to wrap up and the shop will be back in action.


