Showing posts with label Record Case. Show all posts

Friday, September 20, 2013

Record Case Part IV - Followup..

Its been a pretty crazy month with the final wedding prep and all the craziness of the weeks around the wedding.  Everything came off to plan which was pretty amazing.  For those of you who were there and are looking for pictures, here is the link for the pics from the photographer. Our photographer, Shelley Coar, was awesome.  We would highly recommend her for both her skills as a photographer and for being great to work with.

Shelley Coar Photography: Family & Bridal Party &emdash;

Our DJ did a great job and was stoked on the record case.  He sent me some action shots of it.


We just picked up a new camera.  After looking at the Olympus tough cameras we decided that we really didn't need a waterproof camera and would rather get something that would take amazing pictures.  I have been thinking about going the micro four-thirds route for awhile and that is what we ended up with.  After spending too many hours reading camera reviews we settled on the Olypmus E-PL5...so far I am really impressed, particularly considering all of these shots are with the basic kit lens.

Frank enjoying the nice weather.
Great light in the morning with some light rain.
Wicket is awfully proud of herself.
Out taking pictures at lunch trying to learn how to use the new camera.
Testing out the fill flash.
I am impressed with how sharp the pictures are from this camera. 

Great color the other morning.
Enjoying some with from Lake Co CA.  
A present from my parents mounted on a pieces of mahogany, finally figured out a decent color match for the kitchen cabinets.


Here is a sneak preview of the next project in the works.  I have been making the best of Natalie being out a town to get into the shop and start working on the TV stand above. 


That's all for tonight.


Sunday, August 4, 2013

Completed Record Case

This afternoon I was able to finish the finish, wet sanded with 1000 grit and then rubbed on a coat of paste wax, and installed the hardware. The hardware install was pretty uneventful other than struggling somewhat with the tiny brads that hold the corner brackets on.  I found that a brad point bit worked well in place of an awl to create a small hole to start the brads.


I am pleased with how the case turned out.  My favorite part is the top.  The burl that I used really lit up once I put some oil on it.


The lid is held on with two chest latches and two dowels.  The dowels help to align the lid and guide the latch hardware together.  I was able to get the latches on either side to line up so that lid can be mounted in either orientation.


The inside of the case is simply sealed with shellac.  I don't know for sure but I am assuming that the fumes from an oil finish would not be desirable for vinyl records. The outside of the case has a couple coats of danish oil and 3-4 coats of wipe on varnish. The handles and corner hardware are from LeeValley; chest latches were Penn Elcom (pn L0566K) that I found on Amazon.  There was no hardware with the latches so I ended up ordering the #6, black coated screws from McFeely's. All in all I have been pleased with all of the hardware.  The corner hardware from Lee Valley was a bit smaller than I was expecting, but I think it works pretty well.  

Wednesday, July 24, 2013

Record Case Pt II

Finally getting around to posting some more pictures of the record case. The last month has been busy...not much time in the shop though.


I have the lid glued and up and have started sanding it.


The glue-up required quite a few clamps because of the way the top is attached.  The flush look is worth it though.


Here are the two halves of the case.


My first attempt at cutting the dovetails for the lid didn't go well....the marks are the material I was SUPPOSED to remove.


Lower case dry fit.


I am really pleased with the way that the veneered panel for the top came out.  Match planing the pairs of veneer with an angel helped to minimize the visibility of the seams.  I can't wait to put finish on this piece.


Some sketches from trying to decide on the dovetail size and placement.


All of the hardware that I will be using.

Tuesday, June 18, 2013

Design Decisions.

You would think that I would be better at making decisions about my designs before I have started to buil a project...designing things is what I do for a living.  Being able to put off those tough decisions until the the last minute turns out to be one of the really liberating thing about doing projects at home, for myself.

I am beginning a build for a record case which will be a gift for a friend who is DJ'ing our wedding later this summer.  He still spins vinyl so I thought a classy case for him to haul records to his gigs would be great.  The basic design is styled around tansu hardware from Lee Valley.


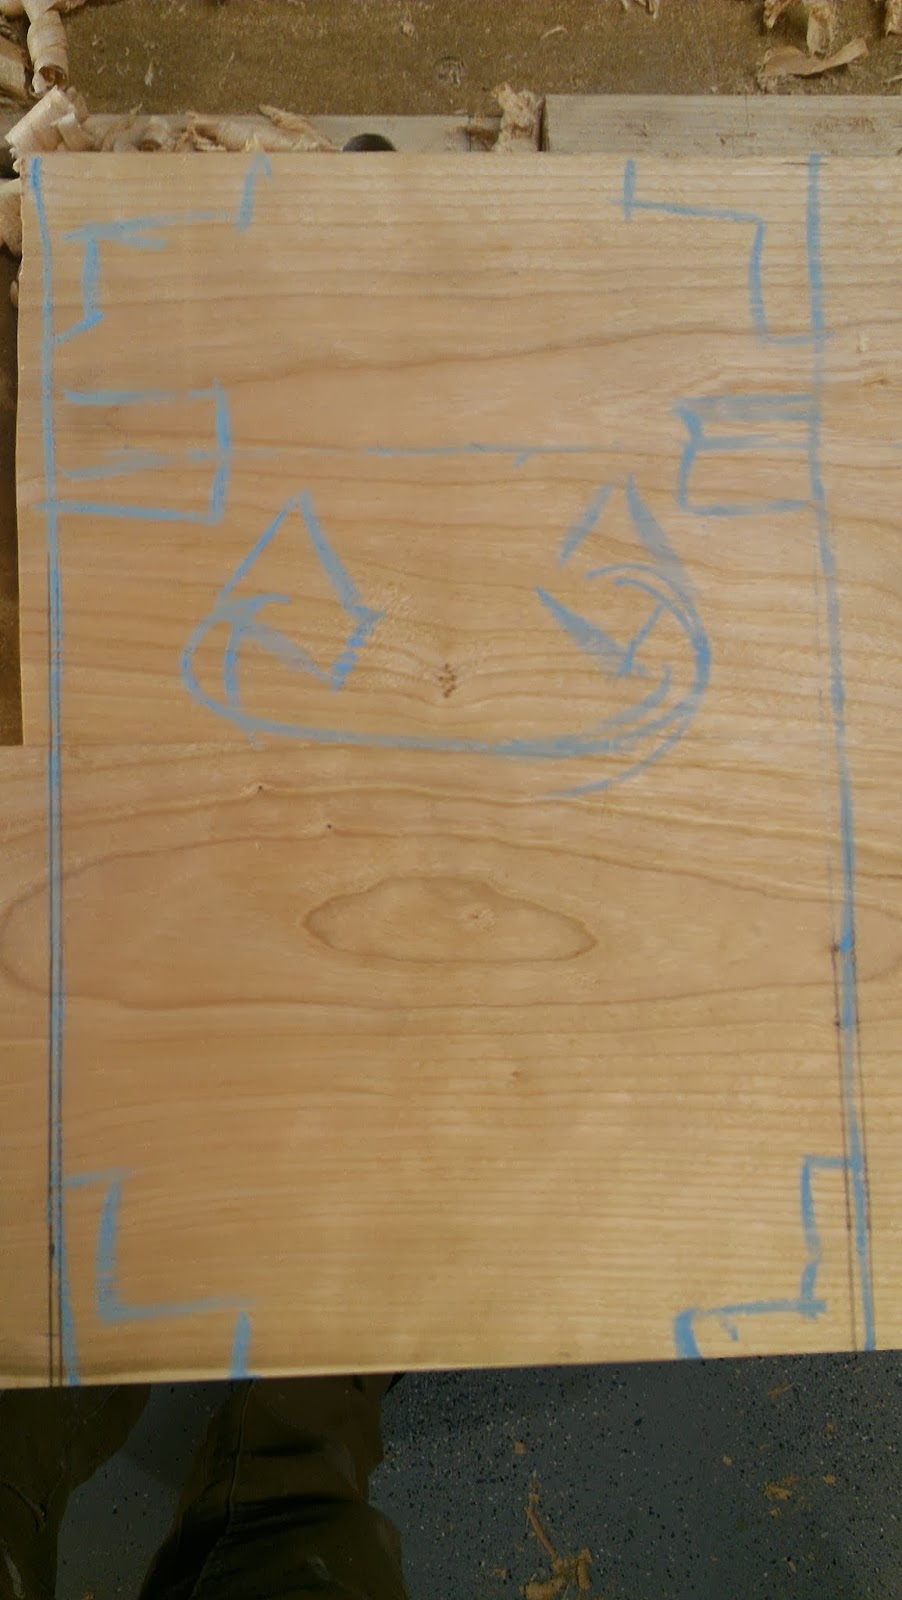
I've got some cherry glued up which will make the case sides.

and I have a chunk of maple burl which I plan to slice off veneers for the top from.


I think this is the layout I'm going to with for the top.
The next big decision I need to make it what proportions to use for the upper and lower portions of the case. The version on the left has a much deeper top at 5 1/2 inchs while the one on the right is 3 1/2. I ordered both types of hardware layed out in the two options.  The deeper top will leave more of the records exposed which should make removing them easier, but for some reason I'm hesitant to commit to that design.


Any thoughts and suggestions would be appreciated..