Tuesday, September 13, 2011

Moving...

finally some picture of the move and of the house after.
We borrowed a truck and trailer for the move...managed to get most everything in a couple of trips. Our friend Curtis who is living in Denver for the summer was awesome and came up for the afternoon to help us.

The keg system has been getting plenty of use...makes finding willing bodies to help move heavy things and dig holes much easier.

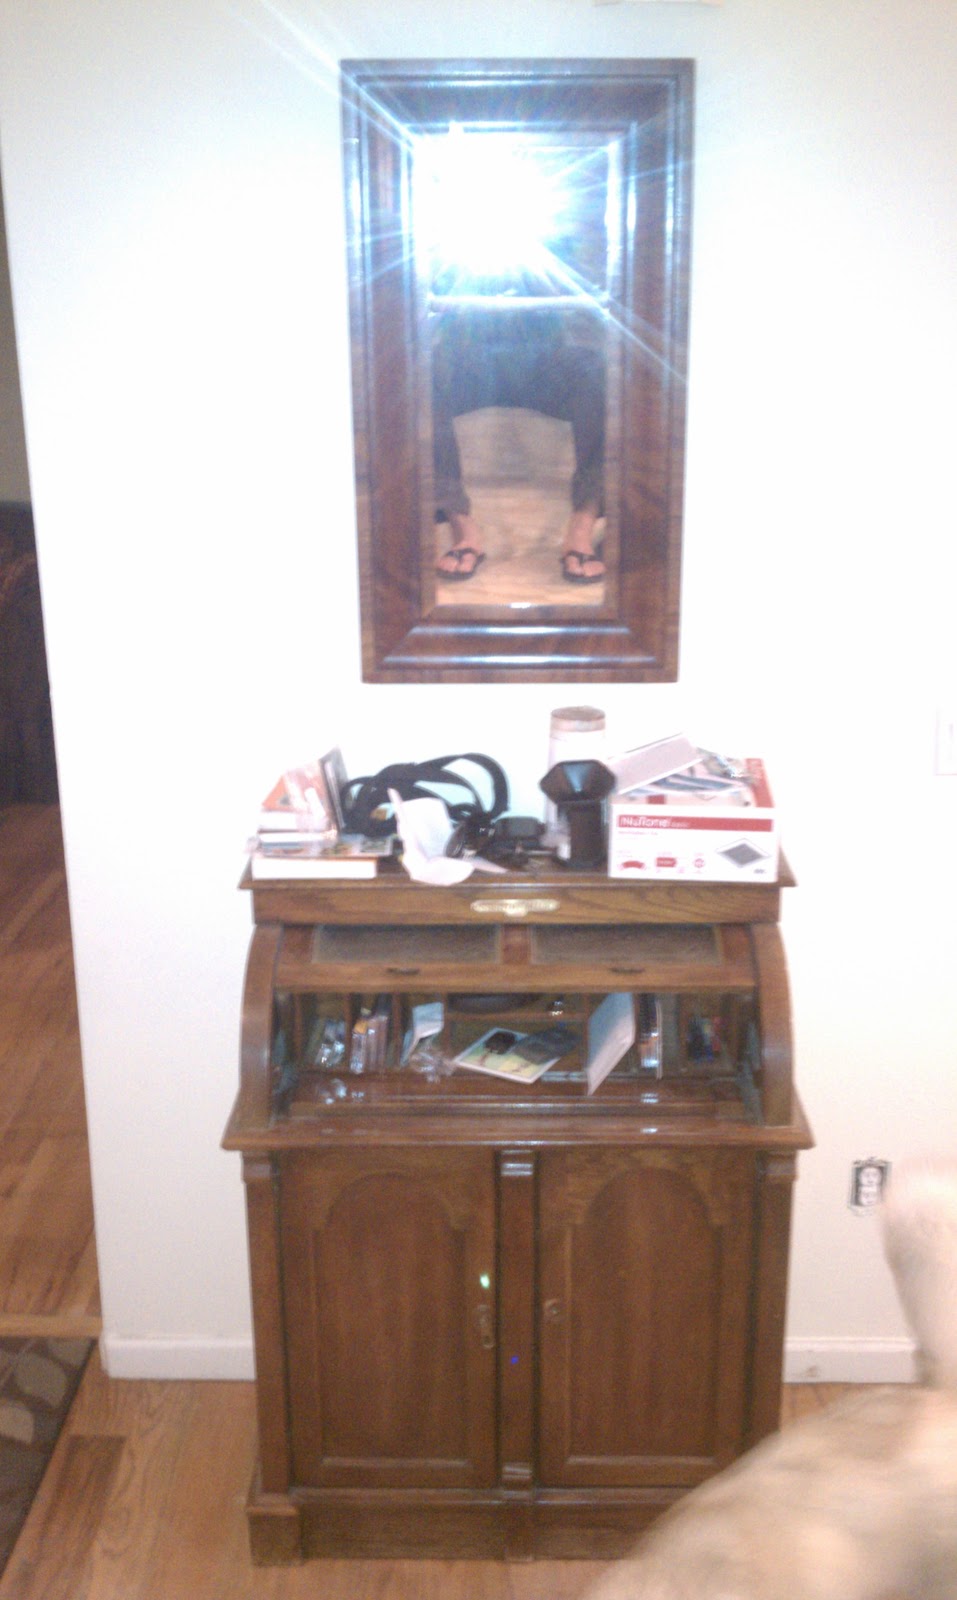
Desk at the bottom of the stairs by the entryway.

Natalie's mom found this little kitchen piece for us, its a really neat old piece which was probably somebodies entire kitchen cabinet in some cabin somewhere.

Somewhere along the line I managed to get the dirt scrubbed out of the garage and coat the floor with EPOXY.   It is already pretty full, but organizing that is getting pretty high on the list.
Last weekend we hung up pictures, curtains and un-packed.  I also got the first stair laid out to test out my methods...so far so good.

Other bits and pieces.

Here are some other random projects that we knocked out in the last few weeks as well.


Wicket got a dog run last weekend...which she promptly dug out of...and then climbed out of as soon as I made it so she couldn't did out.  Covering the corners so she couldn't climb out seems to have worked.

Both of the downstairs toilets ran and this one had leaked for awhile which cupped the wood flooring in the bathroom pretty badly.  Natlie's mom bought us a couple toilets as a housewarming gift...luckily they went in without much of a fight.
I was able to smooth out the worst of the cupping with a belt sander and after a couple coats of polyurethane...the bathroom floor looks much happier.
The last thing in the bathroom was to replace the old nasty faucet with a new one. Once I managed to get the old one out..which involved a sawz-all...I had to find a fixture that would fit in the tight space.  Luckily we found one we liked.  Of course while installing it I noticed that the feed valve for the mini-hot water heater under the sink leak...so add that to the list.
The two burners on the right of the stove didn't work.  The repair guy quoted us 285$ and said it would take a long time to get the parts.  $3.50 later I had it working.  I did end up ordering about $70 worth of bits and pieces to re-furbish it...but that was all stuff that wouldn't have been covered by the repair quote.  Now to be fair, my $3.50 fix just bypassed the failed part...but it was for a feature we don't really need....and if I decide to fix it completely that part is $150.

Before we moved into the bedroom I got some trim installed behind where the dresser goes as its a bit tricky to get it in there.

The fun part..

Next came the fun part, actually getting to put down the wood floor.  I started mid-week with the finish nailer getting the first few rows put in and cutting in around the grate.
Thursday night I picked up the flooring Stapler.  I ended up taking Friday off to get my car registered ( I had to go up to Georgtown which is 20 miles the wrong way from work) and work on the floor.  With the flooring stapler things really started moving.  Our new roomate Nick stopped by to help a few times that weekend and with the two of us we managed to get most of the up-stairs completed.


Custom threshold piece for the exterior door from the bedroom.

Now we are really making some progress.
Finished floor in the master bedroom.


I ended up changing the direction of the flooring for the hallway and above the stairs to compensate for the stairwell and stairs not being even close to square with the walls in the rest of the room.

Detail around the gas fireplace hearth.
Here is the finished bedroom, all that is left is to complete the trim.


Catch up

Things have been pretty crazy the last few weeks.  We are finally settled in and aren't working on the house full time... so I am finally going to start catching up on the pictures. I have tried to be good about documenting the whole process, there are a few gaps but you'll get the idea. 

Where were we...ah yes, flooring.  The subfloor in what is now the bedroom was a mixture of OSB from the addition as well as 3/4" T&G flooring over top of rough sawn planks.  This old portion of the floor has a pronounced crown to it.  As best I could measure it was roughly 1/2" out of flat over 10ft.  Since it usually recommended that the sub-floor be within 1/4" over 10ft I decided to rent an 8"drum sander.


 This beast made quick work of smoothing out the rough spots and getting me much closer to something resembling flat.  I took the center of the floor down about 1/4" until I started seeing the blind nailed fasteners and decided to stop there.  The sander was definitely worth the money.

Sunday, August 21, 2011

Next on the list..


Now that the wall is about done its time to move on the next phase of the project. The next big task is the hardwood flooring upstairs. Since we have to move in a little over a week from now, my main focus will be get the bedroom done. This also happens the be the more difficult room as the subfloor is...interesting, and there are several little walls that I have to work around, basically there will be alot of cutting. On the plus side I should be able to use up alot of the short boards.


As you can see in this picture the current sub-floor isn't very flat. There is 1inch rough sawn pine boards on top of the floor joists..which rough sawn 2x6s. On top of all that is tongue and groove flooring, probably some sort of pine. Luckily this gives me quite a lot of material to work with get things flat. I rented an 8inch drum flooring sander yesterday that ought to make this process alot easier. Once floor is flat enough we are going to paint this room and then its time to start laying floor..I can't wait.


Last night I also started to prep the stairs for their hardwood treatment. All of the remaining staples and tacks from the carpet had to come up and the bull-nose had to be cut off. The Oak stair nose pieces are on order with Lowe's so I can't start laying wood on these until those come in. We also got the Oak plywood panels stained and sealed. Those will be cut up to be used for the risers on the stairs.

Posted by Picasa

Wall is almost done.

Last week I was able to get the rest of the drywall hung and the door jam sorted out so that everything sat nice and flush.


With a little bit of practice I was able to match the texture on the existing wall. I found that the bucket scoop trowel worked the best as it has nice round edges that didn't leave marks in the compound.


Yesteday we got started on the painting. The new wall is lovely shade of Violet. The Halogen work light has been key for painting a nd spackling, even during the day. It makes it much easier to see the texture and whether you have good coverage.

Posted by Picasa

Thursday, August 18, 2011

Taking a step back..

I missed a few days in there, mostly because i was too exhausted to think about posting anything after 15 hours of running around and moving heavy things.


The first order of business with the rental truck was pick up studs, drywall and wood flooring.


Next it was time to clean out the house.  There was quite a lot of junk in the closets.  


Between the carpet, an old bed and random junk we filled the truck twice with loads for the dump.