Showing posts with label Scotch Cabinet. Show all posts

Tuesday, April 9, 2013

It sure feels nice to finish a project...

I finally decided how I wanted to mount the pulls on the whiskey cabinet and got them glued on.  As I was finishing the cabinet with shellac I was also able to get a couple of coats on in an hour so that I could get everything cleaned up and the hardware installed after dinner.
All finished and hung on the wall, the french cleat system worked awesome.  This will definitely be my method of choice for future wall hanging projects. I am pleased with how the color of the Mahogany works with the dark red wall.   
The figure on the board that was used for the case is pretty amazing.  This picture doesn't really capture it
Already occupied.  Though too many of those bottles are looking pretty empty.  Its about time to start looking for some company for them.  I figure at least six bottles can fit in there at a time.


 Opening the cabinet requires a bit of a trick.  The pulls are too small to get enough of a grip to overcome the magnet.  A gentle push on the door though will cause it to pop out allowing a better grip and making opening the door easy.


A view of the magnetic catch installed under the shelf and the cabinet in its final home, right above the espresso machine/coffee station.

Thursday, April 4, 2013

Getting a handle on it...

My next task will be to attach the door pulls.  They are small Ebony blocks with a slight back bevel on the outside edge.  I am considering three options.

First option is for the pulls to be aligned with the plugs on the center stiles.

Or moved just a bit inward.

Final option, which I think is what I am going to go with is to have the pulls close to the inner edge of the stiles so that they almost apear as a single piece. 
End view of the profile on the pulls.  They were made from left over plug blanks.  The bevel was  cut with a small block plane and then they were sanded up through the grits the same as the plugs.  I think I am going to use round toothpicks as mini dowels to attach there.


Making Ebony Plugs

The weather was so nice this afternoon that I decided to set up on the deck with a beer and make the rest of the plugs for the cabinet.  Here are some pictures showing the process that I have been using.

I was using some 80 grit sandpaper to start the round but found that the deep scratched took too long to polish out.  trimming the corners with the chisel first was much faster than starting with the 150 grit and gave me good results.

After trimming the shape of the plug was defined with 150 grit.

Shaped and ready for polishing. I followed up with 220, 320, 600 and 1000 grit.  If I had a grinder with a buffing wheel that would be a great way to get a really nice shine on them.

After the plugs were polished they were cut to length, ~3/8".

Each of the sides was then beveled slightly, starting ~1/16 from the low points on the corners.  

Finished plug.

9 plugs in just about 45 minutes.

A little dab of yellow glue in the hole and tap them into place so that the corners are just proud of the surface.


Tuesday, April 2, 2013

Doors

Last night I was able to get a couple hours in the shop and got the mortises for the door-frame plugs cut and the plug installed.  I am getting faster at making the plugs so the ones on the case should go pretty quick.  After installing all of the plugs on the doors I applied a coat of danish oil, I am still undecided as to whether I should just do a couple coats of Danish oil or whether shellac might look better.

Wednesday, March 27, 2013

Progress..


I think the colors are going to work well together.

Finish on the the door panels. Danish oil ans several coats of shelac.

Joinery for the door is cut.
Door parts ready for sanding and assembly.

Assembled doors, wiped down with mineral spirits to look for defects.

Mortising in the hinges for the doors.

Test fit for the doors

I love those panels.


Ebay score.   a couple of pieces of really nice 8/4 Walnut.  The figure in that one piece is great.
Might get the chance to work with some Sapele for a project at  the office.

Friday, March 22, 2013

Whiskey cabinet update

I was able to get all the holes for the Ebony plugs cut and the parts sanded this week so tonight I was able to glue up the case.  After a couple of dry runs I get the clamps sorted out and the actual glue-up went pretty smooth

Tried out "Frog Tape" on the inside of the case and must say that I am impressed.  It works much better than the regular blue painters tape at preventing glue from seeping under it.  Ended up using Titebond III for the case just to get the extra few minutes of working time.


While everything was drying I got some of the milling done for the door parts.  Just need to chop out the mortises and then size the tenons.  The panels are all milled to thickness and sanded, ready to be cut to size.  They will be pre-finished since they need to float in the frames.  I am thinking about trying some small pieces of weather stip foam to keep them centered.

After the main case glue-up was complete I was able to glue on the case side of the french cleat for hanging the cabinet.  The part in my hand will be attached to the wall and the cabinet will slip over it. Should be plenty strong enough.


A couple views of the case with some bottles and glasses in it for a test fit, looks good so far.  I can't wait to get some finish on this wood and see what it really looks like.


Random shot from the house earlier this week.  It is currently snowing pretty hard so tomorrow should be a powder day. Probably won't get much woodworking done.

Saturday, March 16, 2013

Scotch Cabinet is under way...

Finalized my design over the last few days and actually cut some wood today.
Reduced the number of fingers to 3 and decided on two different sized plugs.

Cut up the block up Ebony to make the plugs...

First test Plug came out pretty well.

Drew up a plan to work from.  Actually finished the design before I started building this time....

Joint for the shelf came out nice and tight. Undersized dado helped conceal it.

Dry fit of the case parts. next step is to get everything sanded and ready for glue-up.

Tuesday, March 5, 2013

New tools and projects.


A simple cutting board that I made from some walnut scraps and a nice little piece of hard maple.  Sized for serving a loaf of bread at the table.


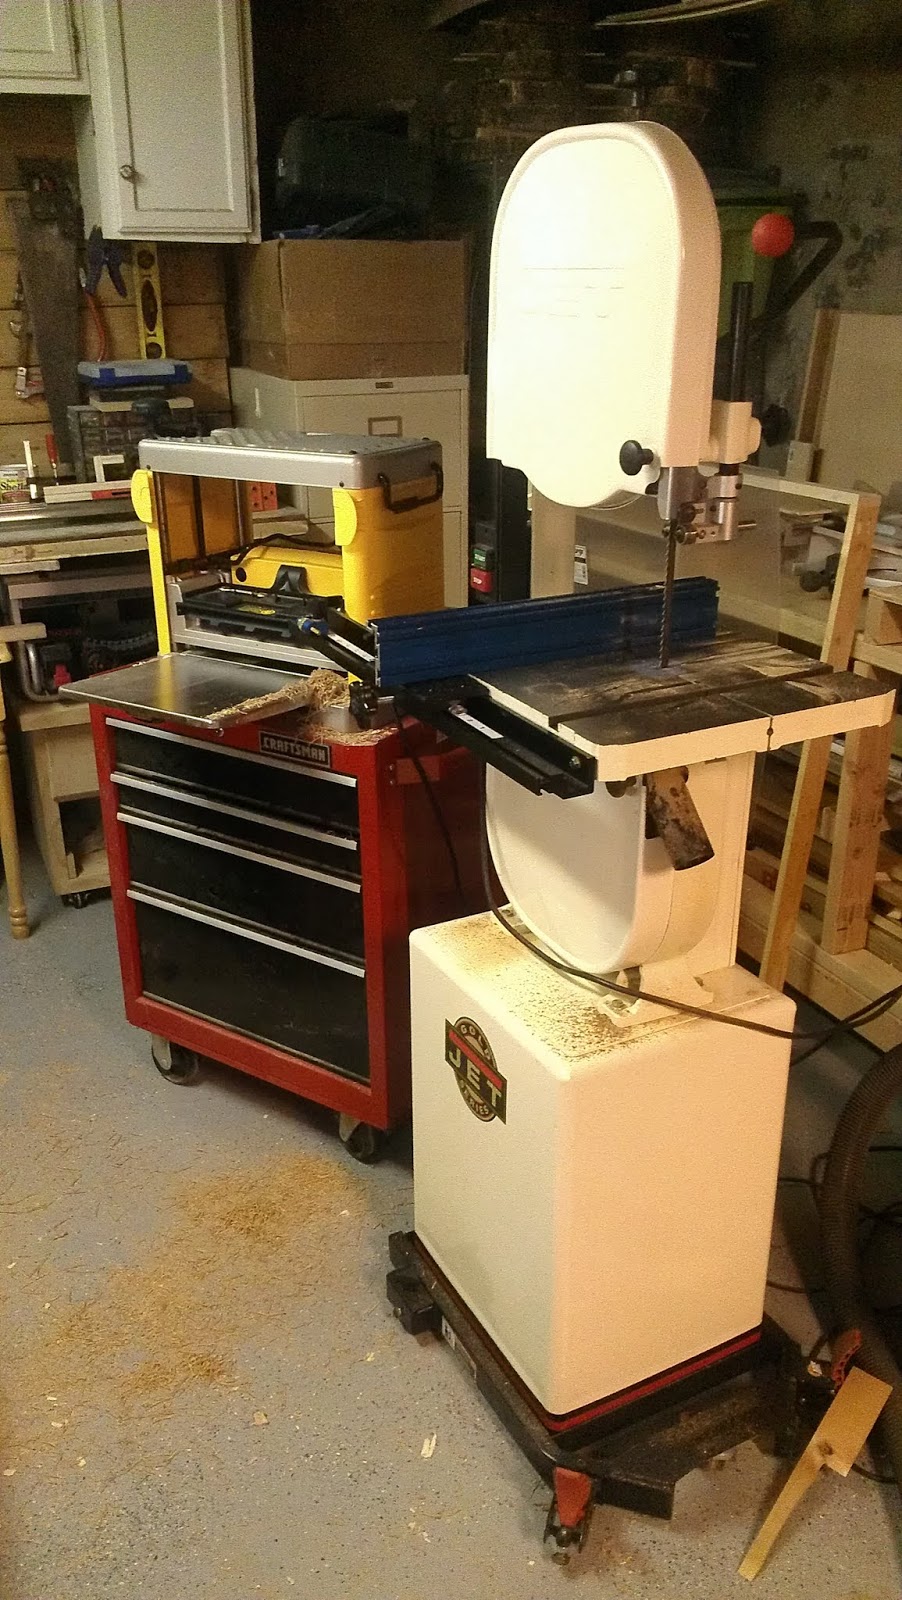
The last week has been a good one for the shop...not so much for the bank account.  Picked up a used band saw earlier today.  It truly is "barely used" unlike most of what I was finding on craigslist and was set up really well.  


Last week I found a good deal on a  Dewalt planer.  These two tools should open up a lot of possibilites for my woodworking.


Ran a scrap piece of Alder through the bandsaw to try out how well it re-saws.  Cut a nice even 1/8" slice off of a 6" board.


 I also have a pretty solid handle on the design direction for the whiskey cabinet that I plan to build with that Mahogany.  After re-sawing a piece of spalted maple I wanted to use for the door panels I decided to go with a much simpler door design to not detract from the maple.  I got some very useful feedback and suggestions from some people on a few of the woodworking forums.


 Here is one of the mahogany boards scraped and wiped with mineral  spirits.  I am pretty pleased with the color and grain in these boards.  Nothing like this stuff, but for a fraction of the price I'll take it.  Some of the boards from Greener Lumber are absolutely incredible. Some day I will get some lumber from them for a really special project.


Tried out a few different finishes.  Played around with amber shellac  as well as danish oil and some stain.