Saturday, January 19, 2013

Time for a workbench.

For quite some time I have been thinking about building some sort of work-bench that would be more stable the table's I currently have, particularly for hand work.  My parents got me the hardware to build a vise for christmas which was the prodding I needed to actually make it happen.

The legs and short stretchers are 4x6 douglas fir timbers that are  joined with mortis and tenon. These are the only joints I have glued as I want to be able to re-configure the bench as better I understand what my needs are.

One leg assembly dry fit.

Shop with the parts in process on my temporary bench.  I think this shop layout is the 5-6th one in the last 6 months.

And here is the bench with the vise installed.  I still need to  find a better way to secure the leg assemblies to the top, I think I'm going to try some carriage bolts.  The top is two layers of MDF with a gap down the center that I have filled with a strip that can be used for holding tools, or flipped to act as a planing stop.  If I remove the filler strip I can clamp through the center of the bench which has already come in handy.

Back to the window seat

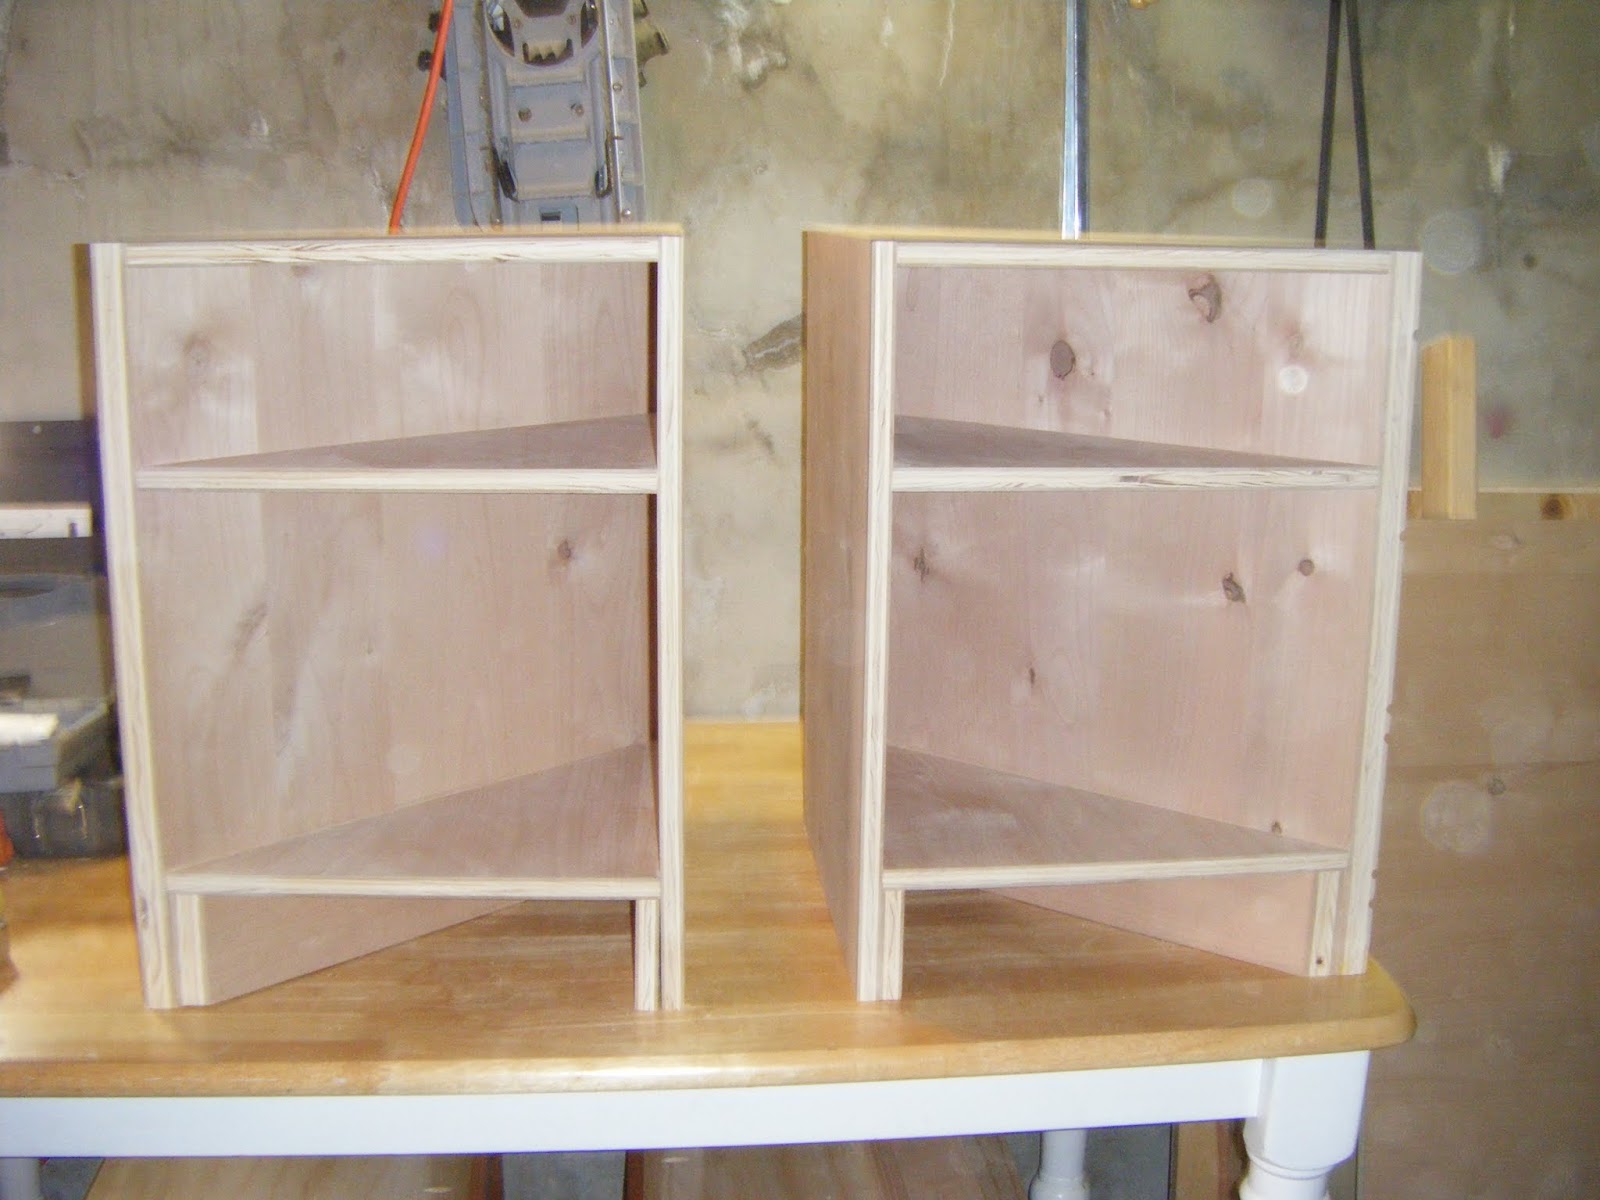
Back to the window seat project.  Here are the end cabinets with some finish on them.

And doors...

Glueing up the panel for the cabinet tops.

Flattening and smoothing on the custom bench-hook. I really need to get a larger  plane for panels like this.

We decided to go with the end grain to the front to keep the grain flow from the cabinet doors and to expose more of the spalting.

Time for some drawers.  1/2" birch plywood with a quick coat of shellac.

Last weekend I finally dragged all the pieces into the house and got the all screwed together and attached to the wall.

Then we upholstered the cushion.

The drawers are already in use.

Today I got the table tops cut from the large panel and routed to match the templates  we had decided on.  Not I just have to finish the tops and add the trim along the floor.

Storm Windows

Another side project to get in the way of finishing the window seat.  With winter, finally, rolling in I needed to build a storm window for Nick's bathroom window.  The glazing was the only part that didn't go as smooth as I would have liked.

Now there shouldn't be a breeze blowing through his window.

Next on the list was one of the windows in our bedroom.  This window is quite a bit larger so I built the storm window in two parts.  I was able to get storm window hardware from Amazon, poplar from the hardwood supplier, glass from Home Depot...total cost was about ~50....including the 3rd pane of glass to replace the one I broke while cutting it.

I didn't take any photo's while I was building the frame but they are through mortise and tenons that are glued.   The inside edge is chamfered.

The outside got a rabbet for the glass.

After the primer dried, the glass was installed and then after the glazing cured the frames were painted for installation.

Lower window has hooks to secure it from the inside so that it can be opened for ventilation come spring.

Storm windows installed, just in time.  It was well below zero the next few nights.  Our bedroom is quite a bit warmer, the frost is now on the storm window instead of the bedroom window.

Saturday, December 1, 2012

House projects and more progress on the window seat.

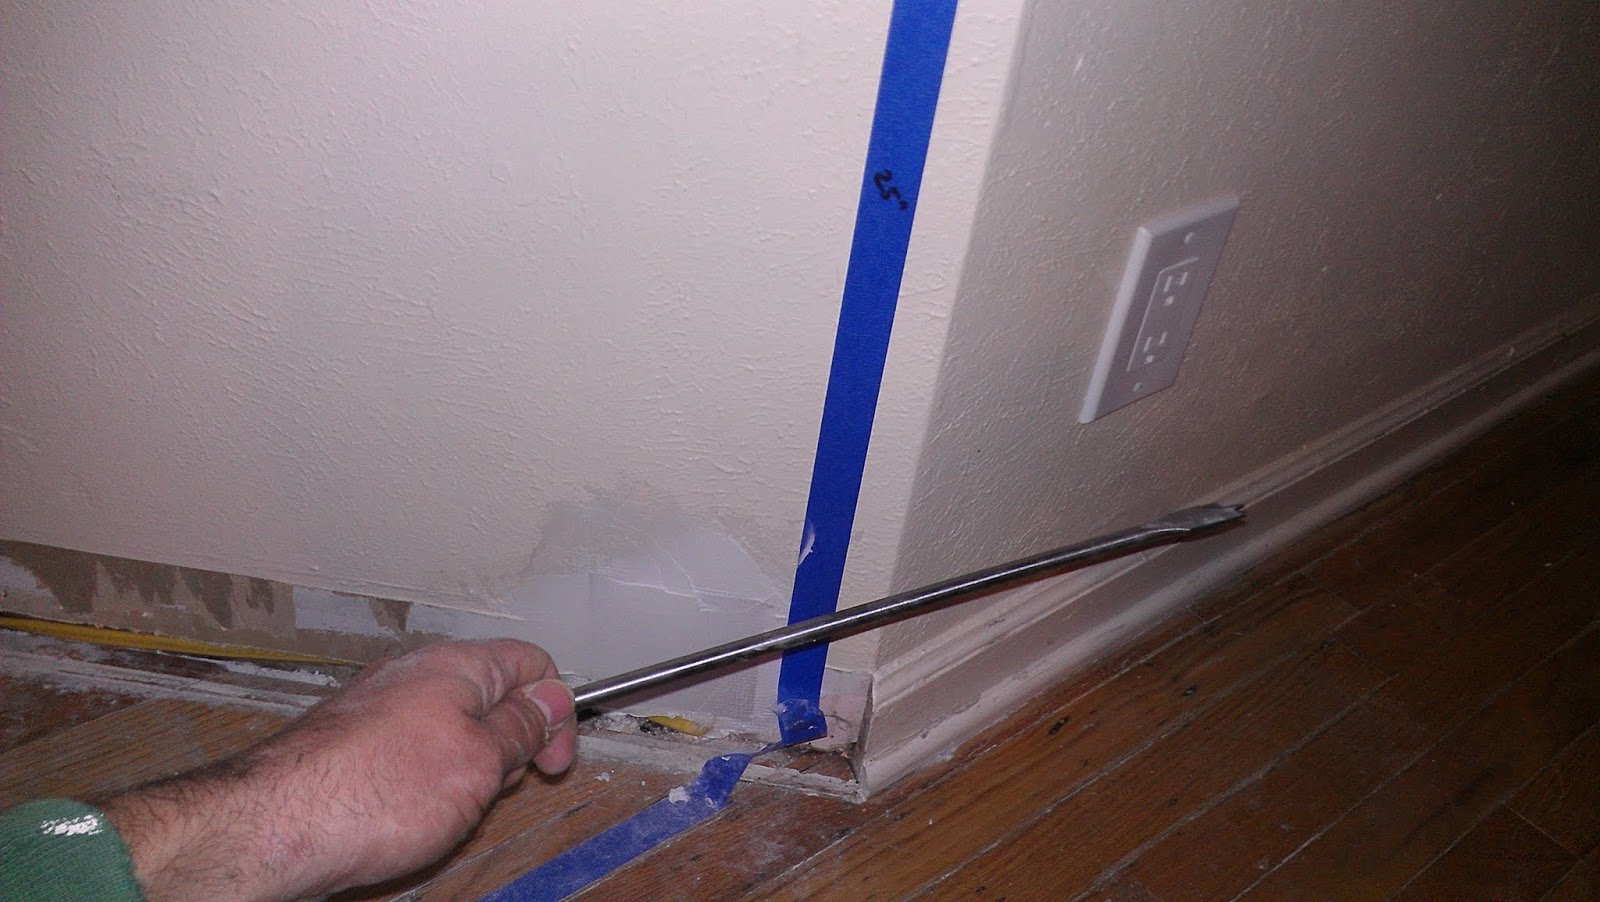
One of the lingering projects that I have been putting off for...well, since we moved in....is to finish the threshold on the exterior bedroom door.  This covers the exposed edge of the wood flooring and allows the door to seal at the bottom.

I built an oak threshold which was attached to some spacer blocks and then trimmed.

Installed.

With some stain and a coat of poly.

From the inside.


More pictures of the window seat end cabinets.

With the face frame installed.

Parts cut for the cabinet doors.

Glue up.

Cleaning up the edges.

Ready for some finish.

The drawer fronts with a coat of oil.


Tuesday, November 13, 2012

Window Seat Update

Another piece of spalted maple that I just couldn't pass up at the lumber supply store. Even better color than the last piece. The background color is quite a bit lighter so I may not mix them.  I might just have to find something else to use this board for.
After trying several different options I think I'm on to something that will work.  Natural danish oil with Polyurethane over it.  I have been experimenting with thinning the poly to make a wiping varnish and using a wet sanding technique (with the liquid finish) to create a slurry and get a glass smooth surface.
Finally got both seat boxes complete and the face frames installed.  Here they are with the first coat of danish oil.
All of the vertical stiles that pair up were cut from wider boards to get a consistent grain pattern. I thought about trying to build the face frame for the entire seat section as one piece, but I wanted to be able to  attach it to the boxes with pocket hole screws that would be hidden.  Being able to build the individual sections complete and then haul them up to the house and install them is appealing as well.
Testing the fit of the drawer slides.  These are full extension slides that will be  attached  to Alder blocks to bring them flush with the face frame.  

After another trip to the hardwood supply store i had the knotty Alder plywood to build the end cabinets which will have door. After all four pieces were complete I hauled them into the house for a test fit and to trim the ends of the face frame to match the walls.  So far so good. 
The crew is supervising, waiting to get their window seat back.
Prototype door/drawer face. I still have a few bugs to work out with the rail/stile bits but the spalted maple veneered MDF core plywood is perfect for the panels. Hard to believe that it is plywood eh?

Wednesday, October 24, 2012

The Window Seat is under way..

After agonizing over minute details for way too long....the window seat is finally making its way into the construction phase.
First up was to disassemble the old bench seat and remove the nasty old trim.  The Walls are surprisingly plumb and there is only a minor (anything less than 1/2" is minor in this old house) dip in the floor on the right. Nothing a few shims won't be able to handle.

Next up was some electrical work to deal with the outlet that was inconveniently placed where the window seat is going.  Seemed like a good time to put in a proper electrical box for the outlet....in place of the board the previous outlet was mounted in???

Also ran some wire along the base of the wall behind where the window seat boxes will be to feed a new outlet on the right hand side.


New outlet installed....all it took was a 16" drill bit to make it through the mess of studs that make up that corner.

Finally on to something a bit less messy,  a pile of 3/4" AC pine plywood for the cabinet boxes that will make up the base of the window seat.

Drilling pocket holes to assembly the box.  After everything is test fit I plan to tear it down and re-assemble with  glue  to make sure it never goes anywhere.

First seat box done. This one and its mate will box have large  filing cabinet drawers for hanging folders.

Testing out the height with a scrap of foam...looking good.

This is the wood that will be used for the tops of the end cabinets, Ambrosia maple.  Also known as wormy maple, it has holes from the Ambrosia beetle larve and blue stain from the fungus that it introduces.  Really interesting wood.

Another view of the Ambrosia maple.

Knotty Alder for the face frame and panel frames.  I think this will end up being stained to be a bit darker than the maple to give a little more contrast.


The latest addition to the shop.  A mobile miter saw stand/workbench with lumber storage underneath, sheet-good storage behind and the router table mounted to the end.  With just a shade over 200 Sq ft...I've got to be efficient.

The shop....It has already been re-arranged since this picture. 

Another side project, I got an old Dunlop plane from a co-worker .  Hopefully with a bit of cleaning and sharpening it will be functional.