Thursday, January 16, 2014

TV Stand Part VII - Drawers


After finishing off a hardwood floor installation at my father in law's place...


..and in between taking advantage of the new snow,  I have been getting some time in the shop.


With the case complete, I've moved on to the drawers.  First thing on my list was to fit the drawer fronts to the openings in the case. 


Christmas gift cards were well spent on a Veritas Low-Angle Jack with 25 deg blade which worked wonderfully well on the shooting board. The tenon saw has a nice balance to it.


The drawers are a simple rabbet construction and will have dowels to reinforce them.


I can't wait to get some finish on the lower drawers.


Tonight the first of the drawers was fit to the case, so far so good.


Tonight the second drawer was fit. I really like the look of the dowels in the rabbets.


Two more drawers and it's time to move on to the top.

Monday, December 30, 2013

The OPUS hut...

Let's start of by clearing up one thing. The OPUS(Ophir Pass Ultimate Ski) hut is certainly relying on the Euro definition of  a "hut".  This place is  about he same size, and much nicer, than our house. I would be incredibly impressed with the design and build quality if this place were in mtn village in Telluride, thankfully it isn't.  It's built a 1/4 mile off of the Ophir pass 4x4 road at almost 11,700 ft. If you want more details on the hut check out their website and read through the scrap book when you make it there.

If you really just want to see pictures and skip my wandering dialogue I've got the full set posted here. Link 

This year for Christmas Natalie and I decided that we wanted to do something a little different and started looking at options for a hut trip.  I had been in contact with Bob, of the OPUS hut, several years ago but hadn't made it down there.  Their schedule was pretty open over Christmas with only one other couple staying there so we decided to make it happen.

The weekend before christmas we had people over for dinner and then began packing.  This was a relatively simple affair as all we needed was our ski gear, hut cloths, sheets and daytime snacks.  Skiing in for a four day hut trip with my normal ski pack was pretty awesome.


Monday we skied Monarch Mtn and then stayed in Montrose.  Tuesday we drove south, into the San Juans.  I will always love the sight of that mtn range coming through the windshield.


We got the trailhead and made our way up to the hut.  3.5-4 miles on the summer road.


Wicket was very curious about our new home for a few days.


Another view of the inside of the hut.  The post and beam structure if salvaged from a barn from PA. Quite a bit of the other building material is also "salvaged" but the place can barely be called rustic. Hot running water at almost 12,000 ft???


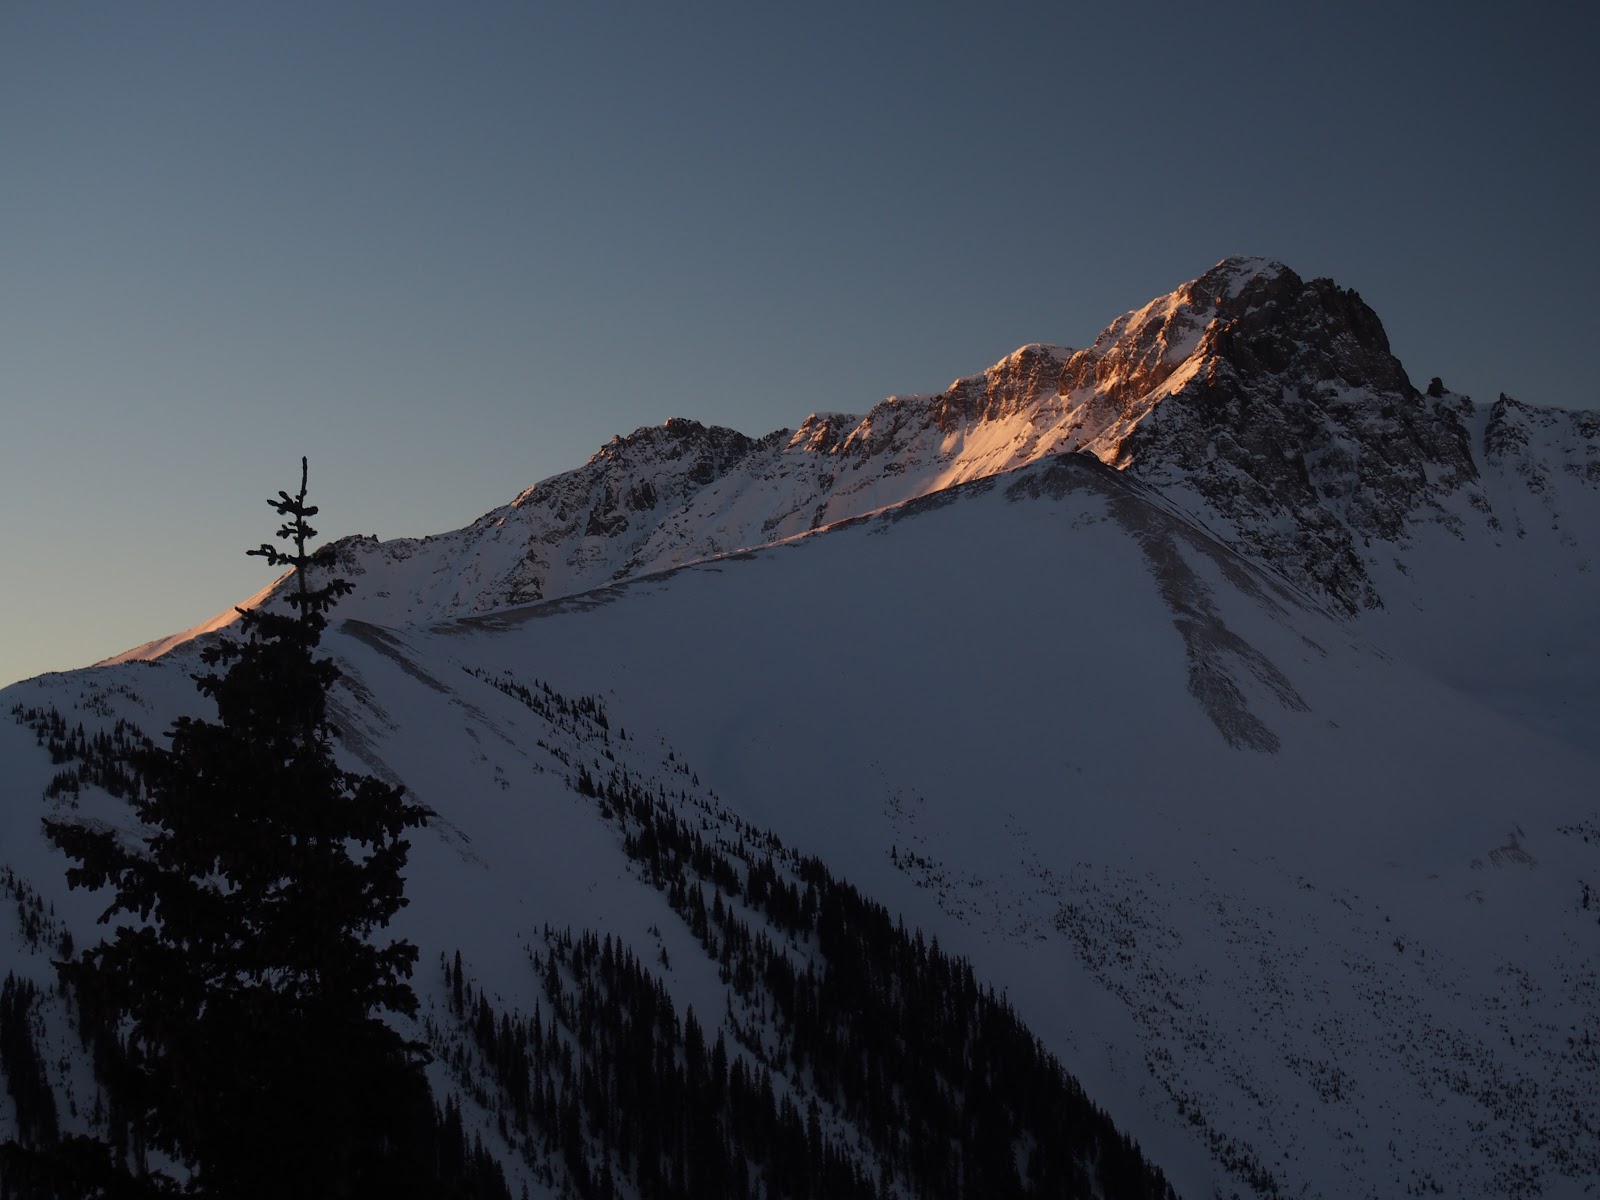
 A couple shots of the view from the hut, not too shabby.


Our objective the first day was a tour across the basin to ski a feature called the nose.  Wicket still can't figure out why it takes us so long to get ready to play in the snow.


After a pretty easy skin we booted up to the ridge above the nose.


Christmas day was a beautiful, sunny, San Juan day.


We skied a large, low angle  bowl up high...


..and then rolled over onto the nose proper for some really nice turns.


The ridge above Ophir Pass on the way back to the hut.


We were greeted at the hut by  soup and appetizers.  This was followed by leg of lamb for christmas dinner... to be completely honest, I've had much worse food at some pretty nice hotels.


The following day we took a nice warm up lap from the hut with Don and Brenda and then toured over to the lower portion of the nose with Don for a couple more laps of the goods.


It didn't disappoint.


It seemed like each lap the snow kept getting better as the sun softened the top a little bit, allowing better access to the creamy goodness within.


Wicket made sure not to get left out of the action.


Don testing out the snow a bit further left....it was good too.


Having the camera gives me an excuse to stop and not have to keep up with her..


Back at the hut again we met our new hut keeper, Miriam, and enjoyed more delicious soup an excellent dinner.


After dinner we were all pretty cached so we called it a night, after some time in the sauna.  This was certainly a memorable christmas spent with some new friends and skiing some outstanding terrain.

Happy New years everyone.


Monday, December 23, 2013

TV Stand Part VI - Slow and Steady

The last month has been as busy as usual with Christmas parties and skiing.  I have managed to get some time in the down in the shop.


I finally got all of the parts pre-finished and the sub-assemblies glued together.  This was the last dry fit of the inner shelf assy before I finished the front edges.


The glue-up went pretty well, a couple rehearsals were key.  Using a glue that sets pretty slow (Old Brown Glue) certainly didn't hurt either.


In preparation for  a Christmas hut trip I picked up a fisheye (15mm equivalent) lens for the camera.  Here is the TV stand case all glued up and just about ready to go.  There are just a couple more details to wrap up on the case.


With the fisheye I can finally get  a decent shot of the shop.  It's cozy but I am settling into some routines and find it a rather pleasant place to be.  Last year I was running a propane heater while I was down there, but found it to be loud and smelly.  This year I have been trying out a small electric heater that I leave on with the thermostat set around 55.  This seems to work much better as it keeps the shop from getting so cold in the first place and things stay a much more constant temperature.  With the cost of Propane I think running the electric heater on low might even be cheaper than blasting the shop while I'm working.


I've started milling the boards for the drawer fronts, saved the best for last.  These have some really nice curl and should be a nice touch.


The top is also in its early stages. With a little cleanup the boards for the top are looking quite nice, they even have a bit of curl as well.  I am still trying to decide on how wide to make the breadboard ends.


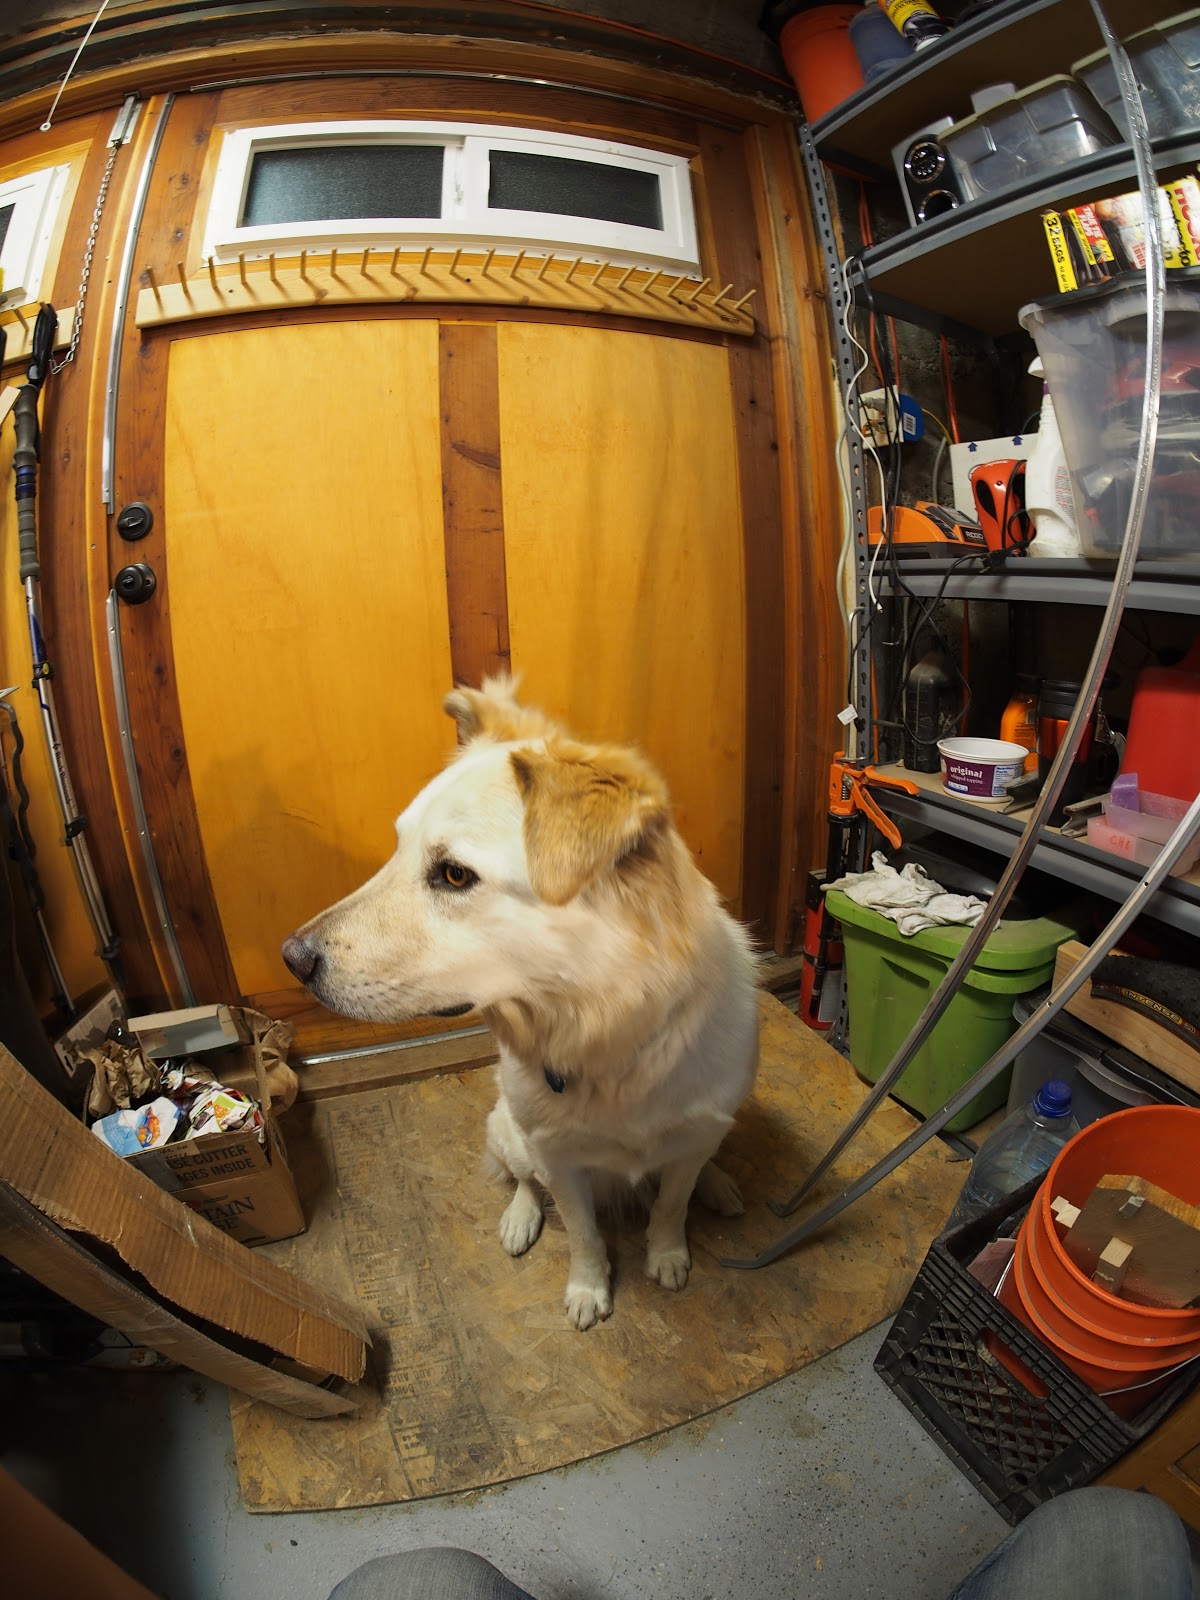
And a couple pictures of my shop helper.


I had to run to the lumber dealer for some baltic birch to make drawer bottoms and this little guy snuck into my car.  It is a beautiful 10' long by 14in wide piece of walnut.  There were a couple big knots right in the middle so I had it cut down to fit in the car.  The other half isn't nearly as nice as the one top, but is still quite usable.  For the price it was worth it for just the one shown.  I've managed to collect a bit of a stash walnut at this point so I think my next project might have to make use of it.  I just need to figure out what that is.

We are off to the Opus hut for some christmas skiing.  Pictures will surely follow.  

Merry Christmas 


Monday, November 25, 2013

The end is in sight ?

With a few evenings here and there I have been making progress on the TV stand.  Checking things off the list always feels good.

Most of my time lately has been putting finish on parts and beginning to glue up sub-assemblies.  So far I am really happy with how much easier it is to finish the individual parts.


Blue tape does a good job keeping the shellac off of the tenons.  I have been applying the shellac with a brush and then wet sanding with 320 and progressively finer scotch brite pads.  I have found that the pads resist clogging much better than sand paper does, but the 320 does the initial leveling a bit faster. As long as I keep the 320 grit lubricated with mineral spirits its seems to work ok. 


The end assemblies are finished and glued up. I am pleased with the overall look.


The back frame is glued up and I am in the process of getting finish on that.  Luckily, 4 of the 5 panels can be removed for that process.


I finally got around to buying a spoke shave.  Found one on Ebay for $20.  A few minutes of tuning on a diamond plate and it was ready to go.  The XX Coarse DMT Dia-Sharp plate is awesome.  It cuts much faster than the X Coarse Duo-Sharp.


I have also made and fitted the drawer guides into the shelf assemblies. I ended up just cutting the mortises for those by hand with a chisel and router plane. It was probably faster than setting up a jig for the router and I had a lot more control over the results.


Dry fit and ready to go.  I am thinking about just attaching them with two screws so that they could be removed/replaced in the future if needed.


Now that the TV stand is really starting to come together and most of the details have been worked out, I have been starting to think about the next project... next furniture project anyway.  There are a few house projects that are higher on the list.  The pictures above are of a Birdseye maple dresser that my wife would like a matching side table for.  I don't plan on trying to duplicate the carved details but I think that the leg profile and some of the trim details will be included.  I need to get a good picture of the top, it has pretty heavy figure that looks terrific.  Whenever I get far enough along on this design to need lumber I think I will probably be calling the guys at Bell Forest Products as they seem to know there way around Birdseye maple.


Thursday, November 7, 2013

Curves and Resawing

Cut some templates to experiment with curves for the rails.  


I'm pretty happy with the curve for the long rail. subtle yet effective.


The curve on the sides has the same rise to the center but is much more pronounced.  Not sure about this one yet.


Finally got around to cutting down the board for the top to see what the two halves look like side be side.  I like it.  I think I am going to go with my original plan of trimming the inner sapwood band to a consistent width to leave space for cords.


It's starting to look like something.


I also got the drawer parts re-sawn.  These were cut from 6/4 stock so I can get two 1/2" thick parts from each blank.  The amount of tension in the wood seems to be less than for the blanks I used for the shelves.


The larger drawer sides pushed my bandsaw to its limit.  I need 6 7/8" drawer sides and was able to just squeeze a 7 1/8" blank through.  I am impressed at how well the saw did, new woodslicer certainly helps. It would have been nice to have a taller face on the fence, but I really didn't have any issues with getting a pretty consistent cut.  


Drawer parts stacked and stickered.  It will probably be a few weeks before I get to the point where I need to mill them to thickness.   I will probably send them through the planer for a couple passes sometime soon and then take them to final thickness when its time to build drawers.